My Simple Mini Pumpkin Carving
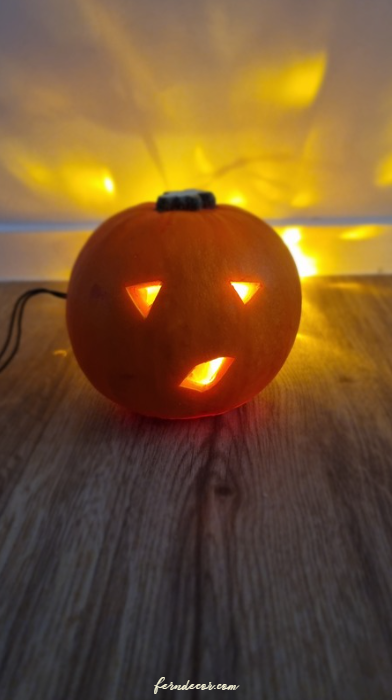
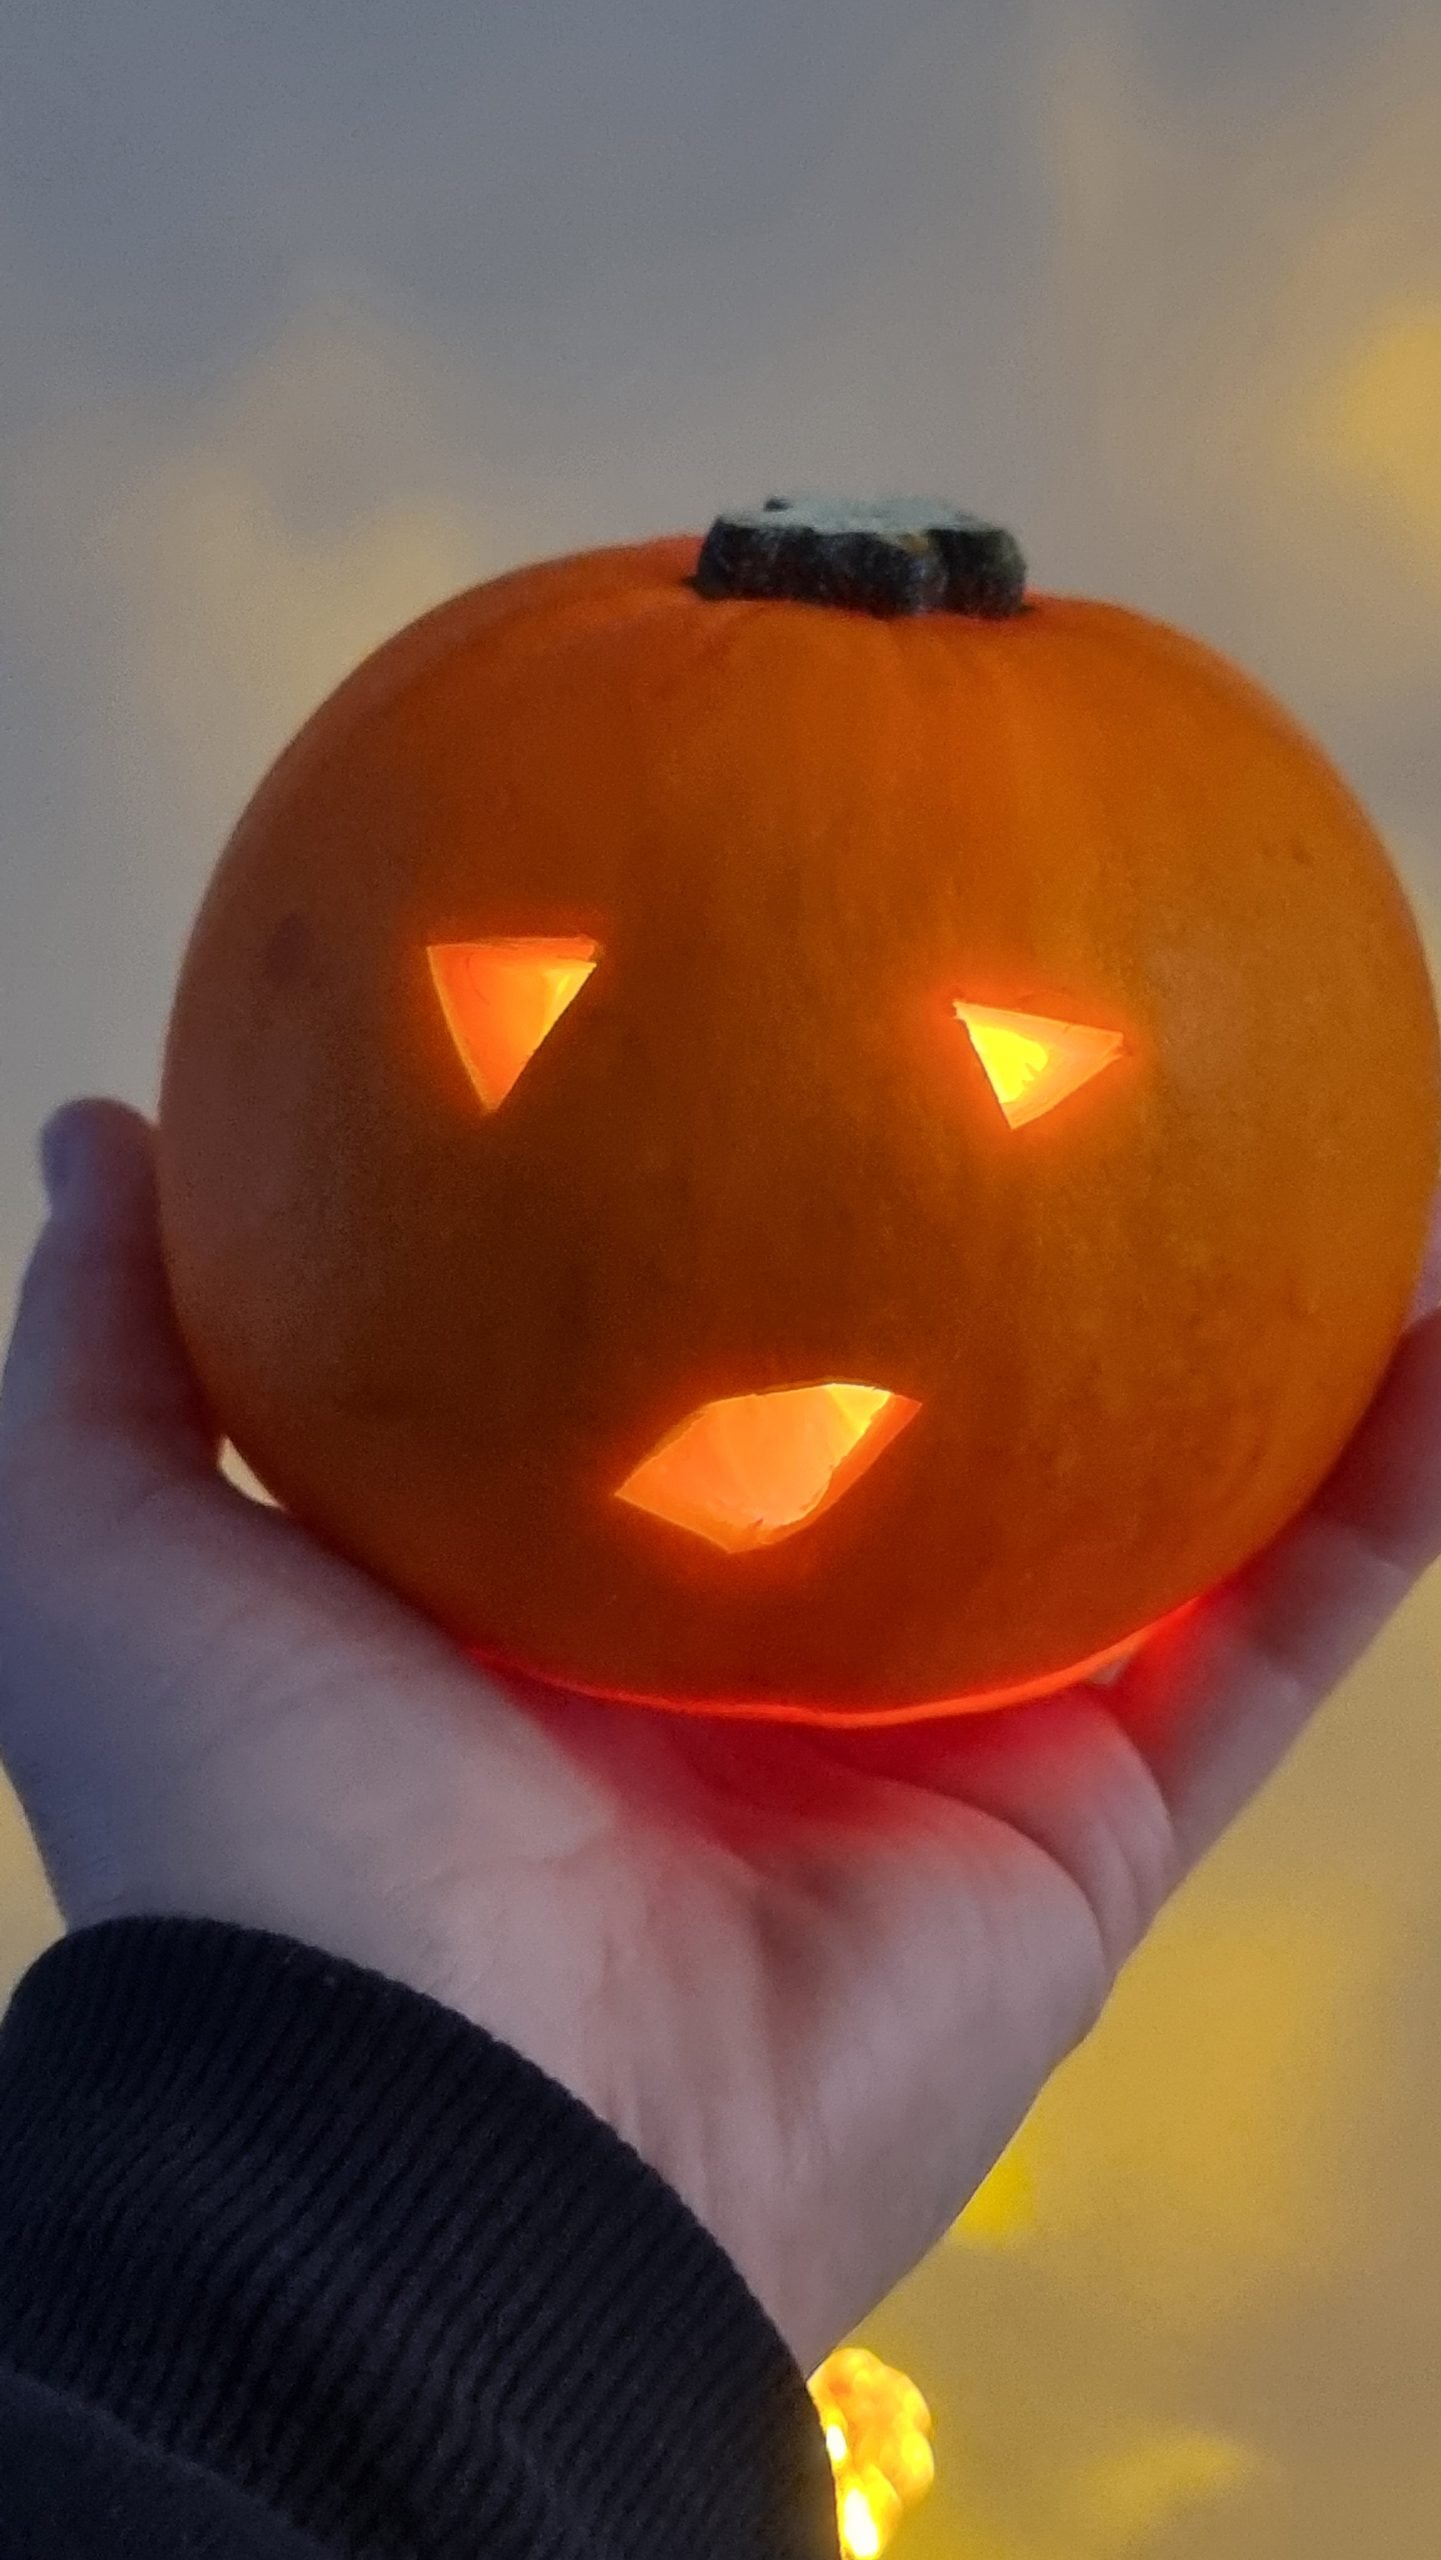
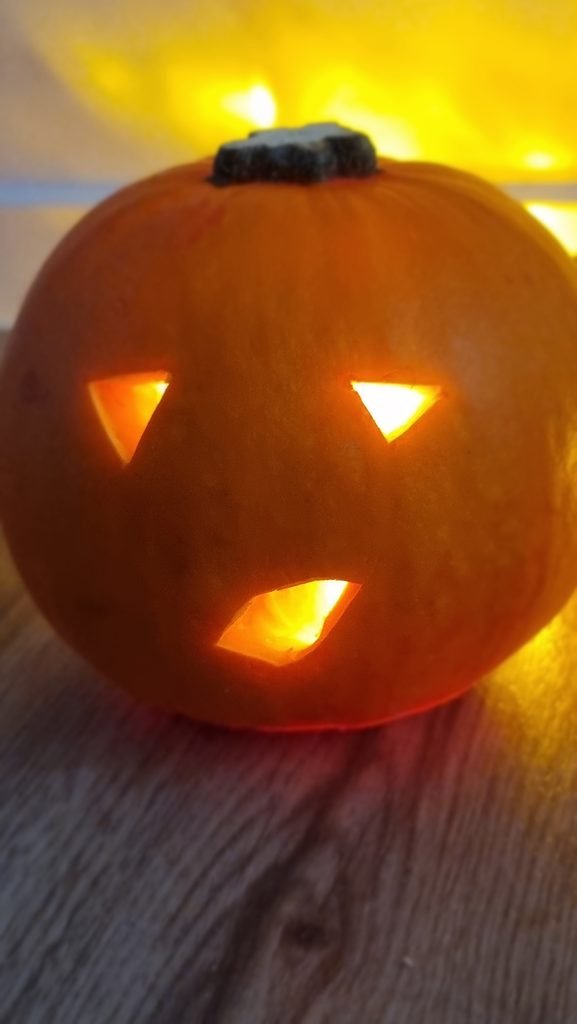
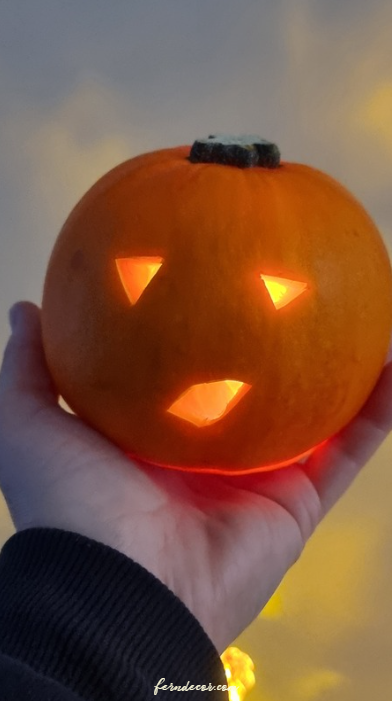
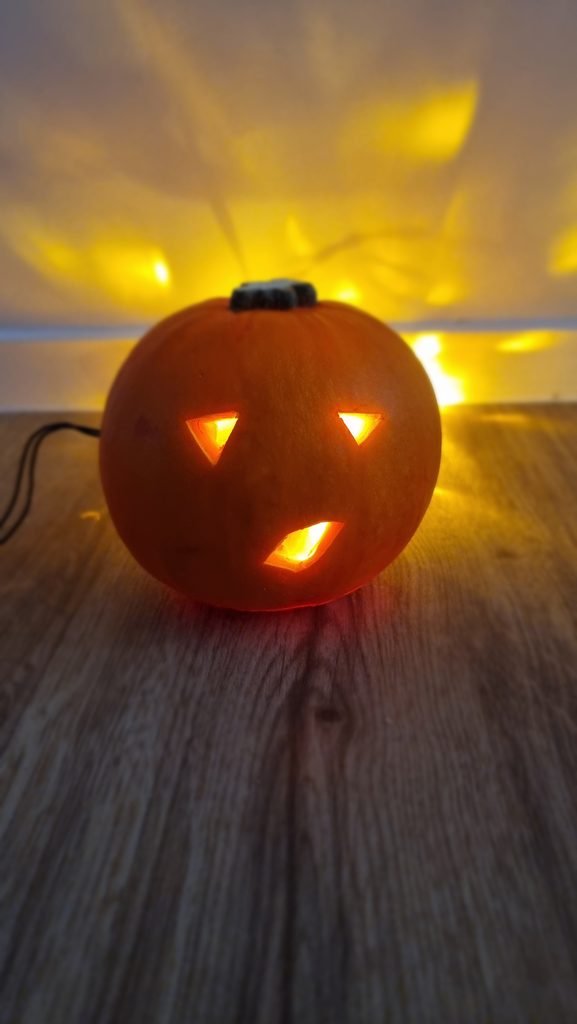
I made this cute mini pumpkin for Halloween and it was so much fun. I didn’t use a scary face, just two small triangle eyes and a little smile to make it look friendly. Here is how I did it.



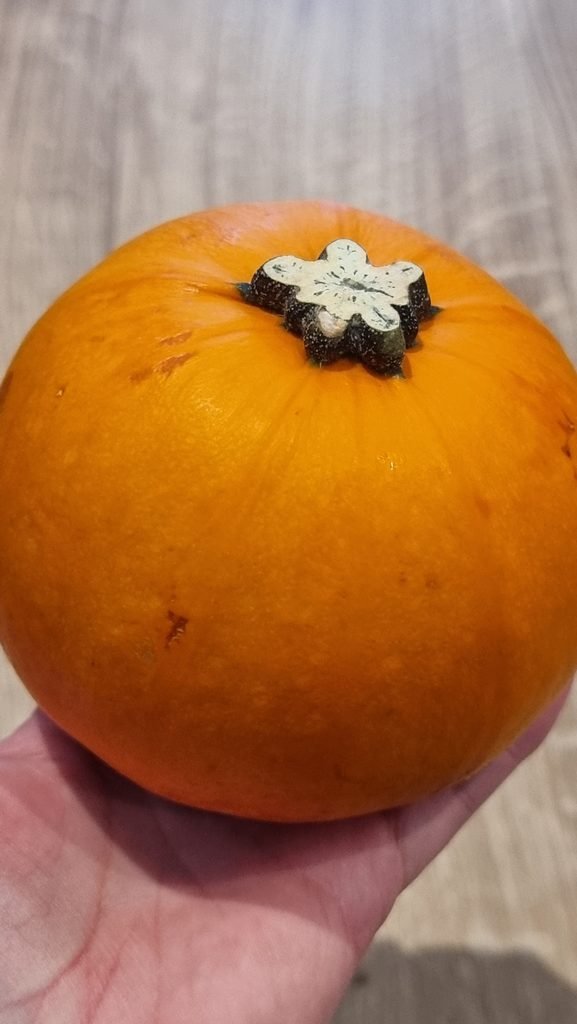
What You Need:
- A small pumpkin
- A smooth sharp knife
- A metal spoon
- LED string lights


How to Do It:
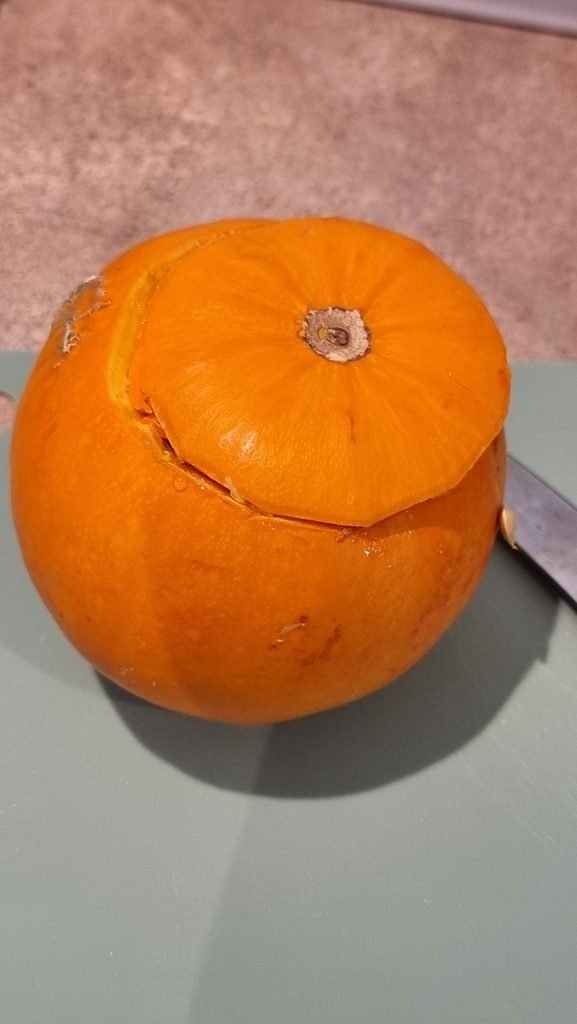
- Cut the Bottom: I used my smooth sharp knife to cut a circle at the bottom of the pumpkin. This made it easier to put the lights inside.
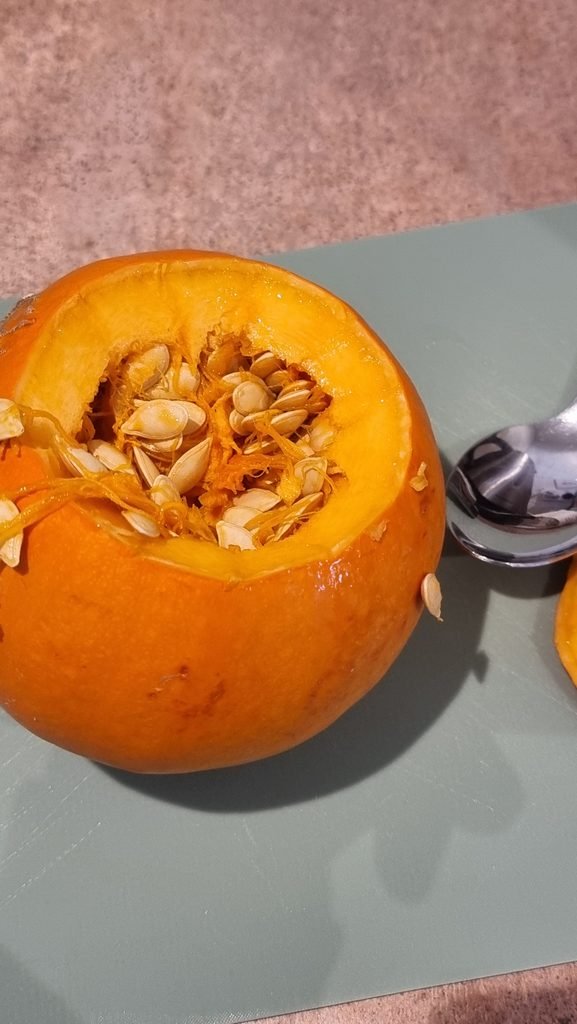
- Clean It Out: I used a metal spoon to scoop out all the seeds and guts from the inside.
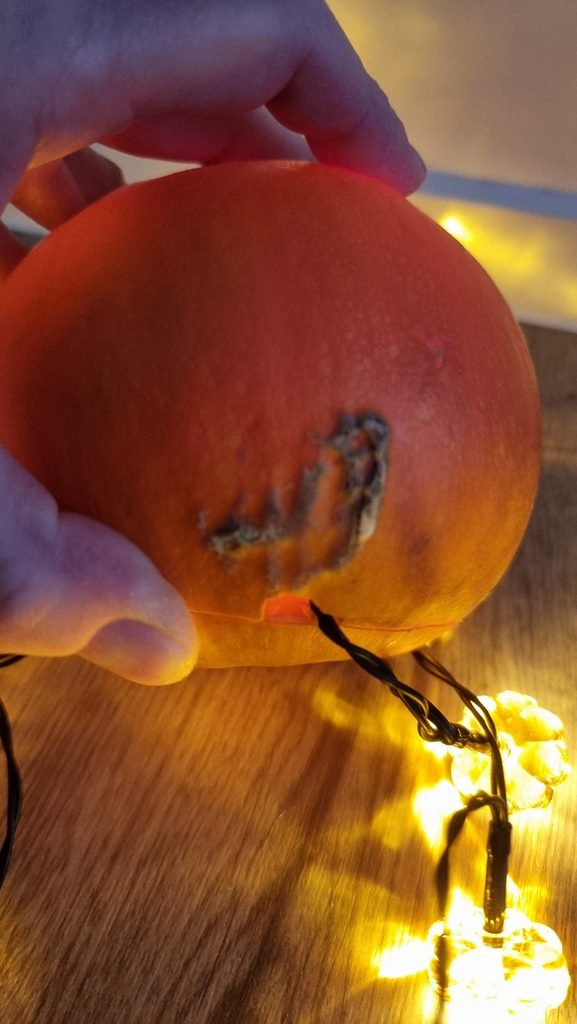
- Carve the Face: I used the sharp knife to cut the triangle eyes and the little notch for the mouth. I also cut a small notch for the wire so it would sit nicely.
- Add Light: I put LED string lights inside to make it glow.



Tips:
- It is safer to use LED lights instead of candles.
- You could also add a small LED tea light inside for extra glow.
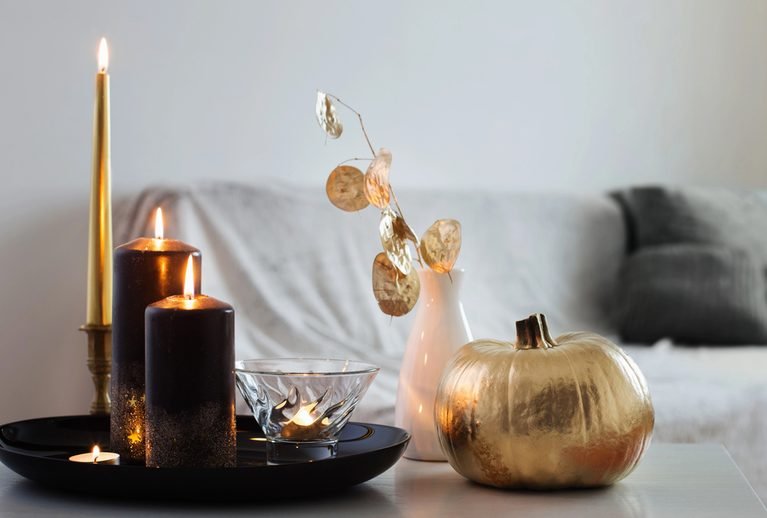
- Try adding some paint or stickers around the pumpkin to make it look even cooler.
Ideas for Decorating and Placing Your Pumpkin:
- Add a Glow: Put a small LED tea light inside for extra light.
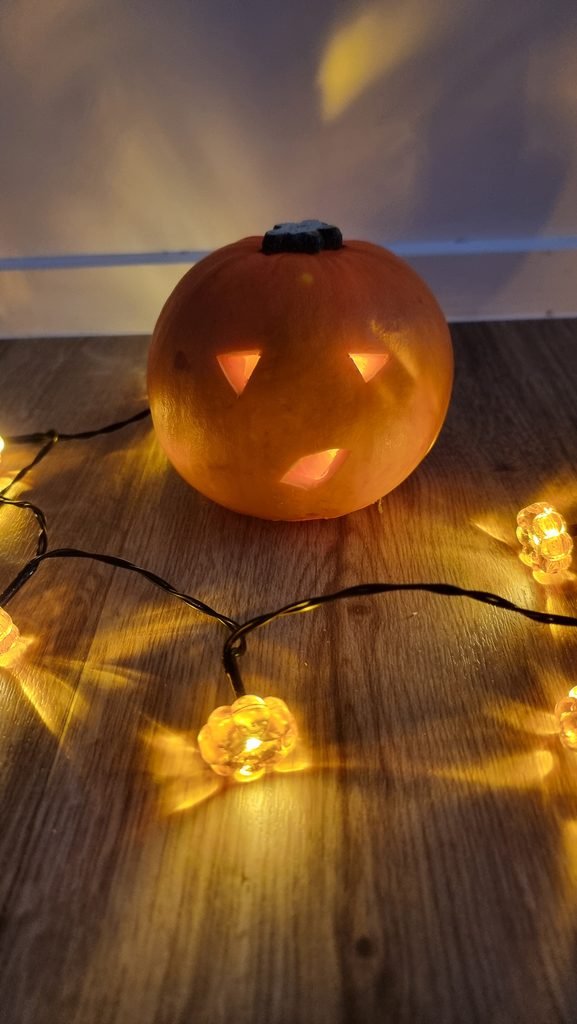
- Make It Cozy: Place it on a wooden table or desk with some fairy lights around it.
- Get Creative: Use paint or stickers to add more designs around the pumpkin.
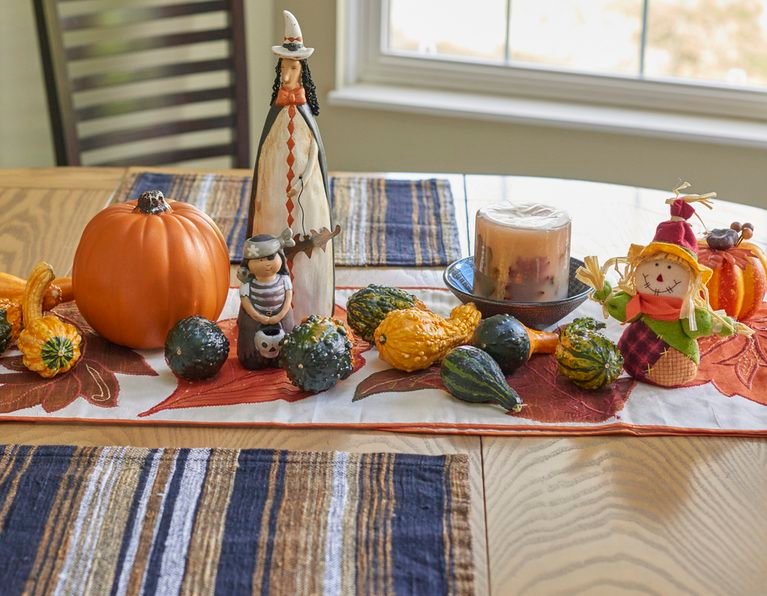
- Group Them: Make a few pumpkins and put them together for a bigger display.
- Display Ideas: It looks great on a windowsill, a bookshelf, or even hanging from a hook with the wire notch.
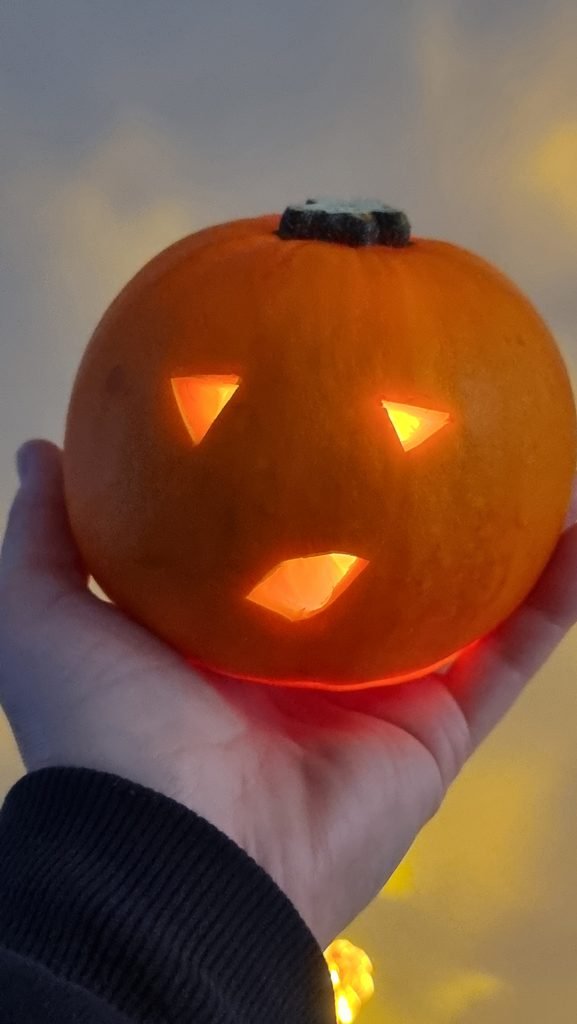


I hope you like my simple pumpkin! It was easy to make and looks very nice on my desk.