35 Easy DIY Halloween Party Decorations on a Dollar Store Budget
The secret to an unforgettable Halloween party atmosphere isn’t found in expensive party store aisles, it’s all in the handmade details.
What’s great about a lot of these ideas is that kids can join in helping too!
When throwing a spooky gathering, it is easy to overspend on plastic banners, synthetic cobwebs, and disposable decorations that end up in the trash by November 1st. If you want your party space to feel cozy, authentic, and uniquely festive, the key is to lean into charming, budget-friendly diy halloween party decorations using real harvest elements and simple crafting supplies.
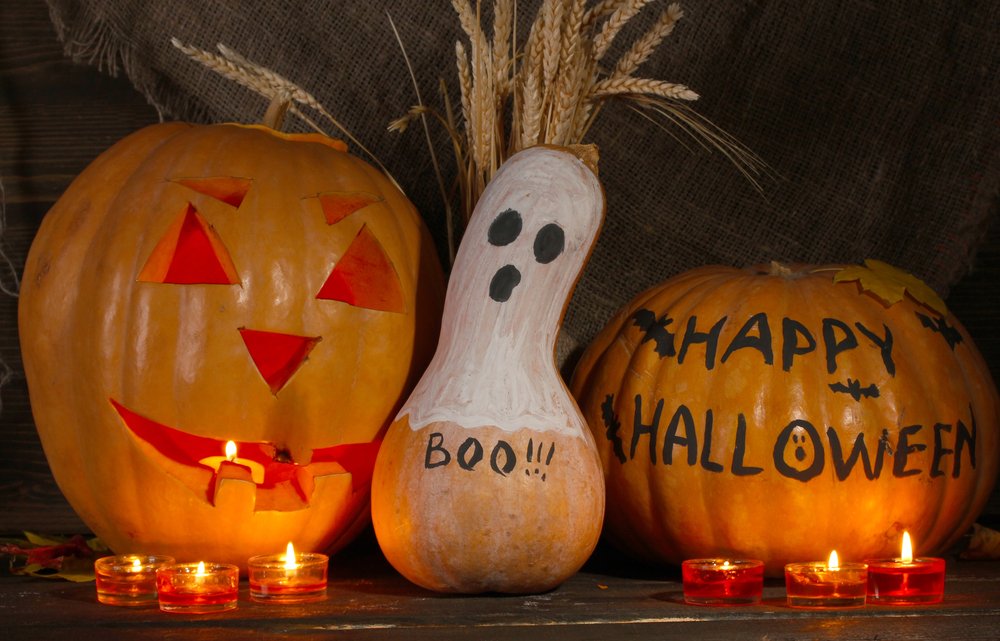


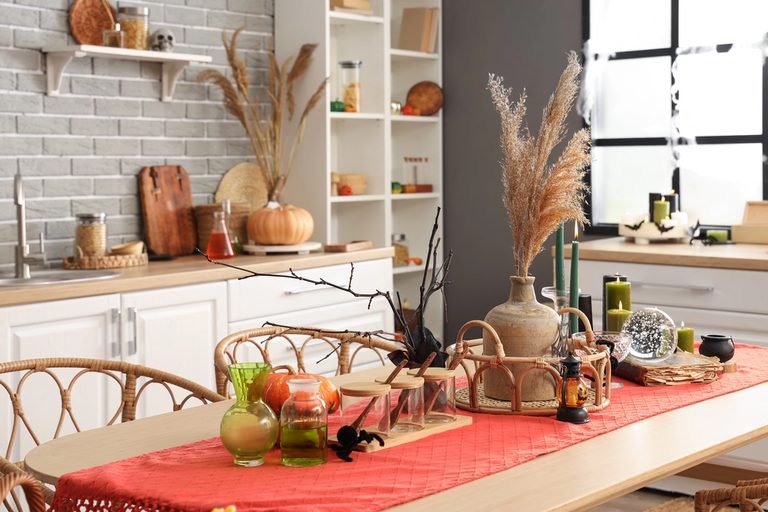
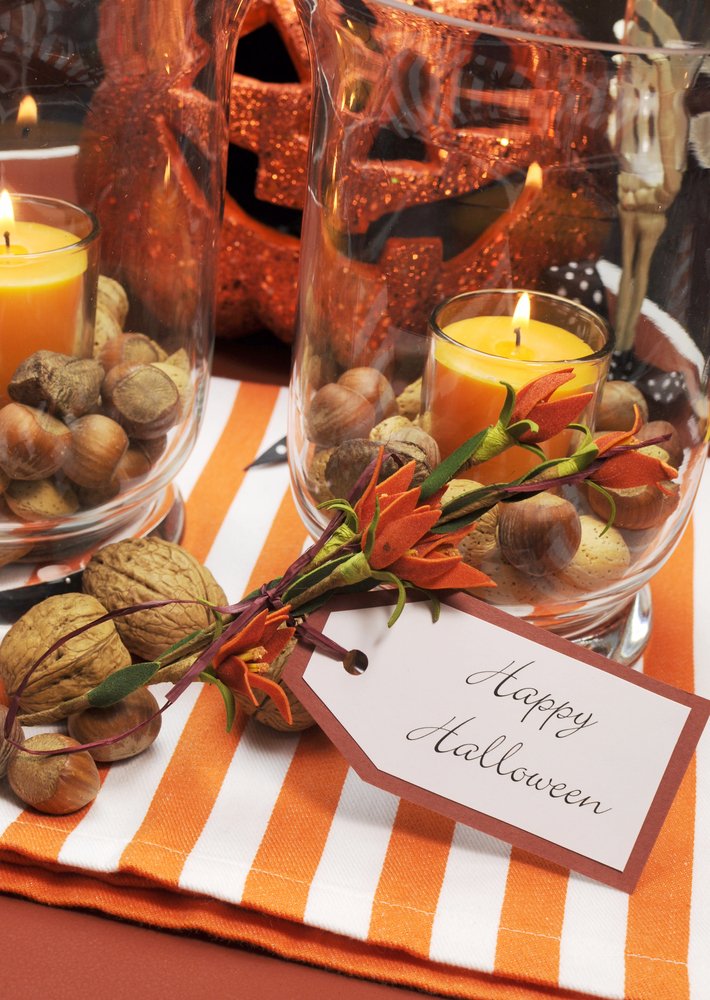
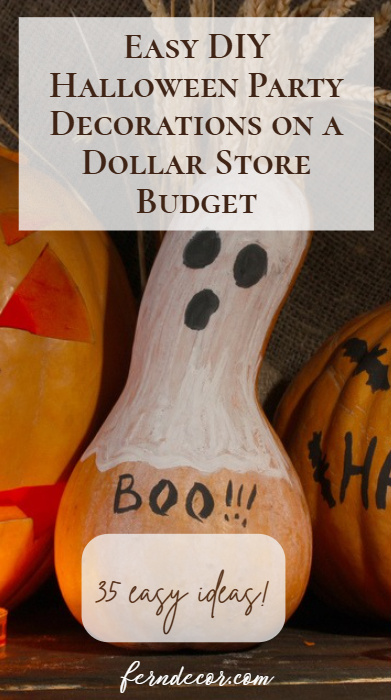
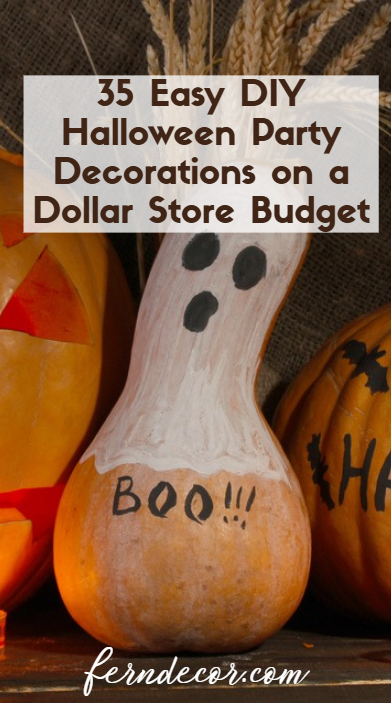
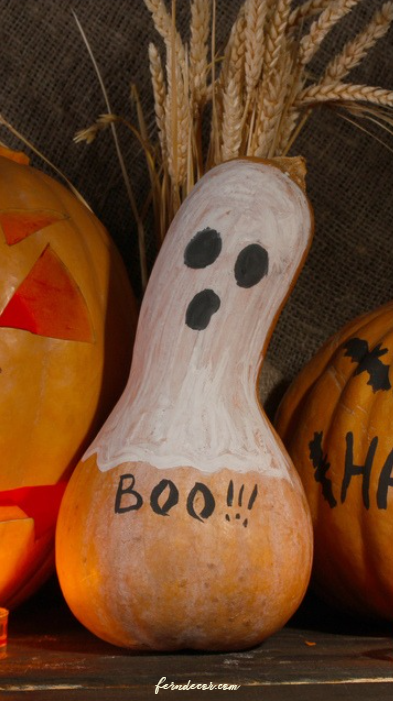
Take inspiration from the photo above to design a stunning party centerpiece table. By combining a classic carved jack-o’-lantern, a whimsical hand-painted ghost gourd, a hand-lettered pumpkin, and a grid of warm flickering tea lights over a rustic burlap runner, you create a glowing focal point that sets a perfect moody, nostalgic tone for your guests.
A little history of Halloween
The pagan festival that inspired Halloween is called Samhain (pronounced sow-in or sah-wen).
Date Celebrated
- When: Celebrated from October 31 to November 1 (sunset to sunset), marking the end of the harvest and the start of winter.
Key Details
- Meaning: The word Samhain means “summer’s end”.
- Beliefs: Ancient Celts and modern pagans believe that during Samhain, the veil or boundary between the physical world and the spirit realm is at its thinnest, allowing ancestors and spirits to cross over.
- Traditions: Historically marked by large protective bonfires, feasts, and leaving offerings of food and drink to appease spirits and honor the dead.
How to Recreate This Flickering Party Centerpiece
You can assemble this eye-catching food table or entryway setup in less than twenty minutes before your guests arrive:
- The Hand-Painted Ghost Gourd: Look for a unique, elongated butternut squash or pear-shaped gourd. Paint the top two-thirds with a clean layer of matte white craft paint. Once dry, use a black marker or paint pen to add three simple ovals for a classic retro ghost face, and write “BOO!” along the natural orange bottom.
- The Hand-Lettered Welcome Pumpkin: Grab a wide, smooth orange pumpkin. Using a black permanent marker, write a stylized “Happy Halloween” message across the front, accenting the text with tiny freehand bats or stars.
- The Multi-Flame Glow Grid: To ground the display and create a moody party atmosphere, line up a dozen simple glass or metal tea light candles directly in front of your pumpkins. The low, dancing flames will bounce beautifully off the pumpkin skins.
- The Texture Backdrop: Set your entire display against a dark wooden wall or a draped sheet of rough brown burlap fabric to give it an old-world, cozy country barn aesthetic.


35 Genius DIY Halloween Party Decorations to Try This Year
Mix and match these 35 clever, budget-friendly ideas to transform your home into the ultimate festive party sanctuary.
🎃 Painted & Carved Pumpkin Displays
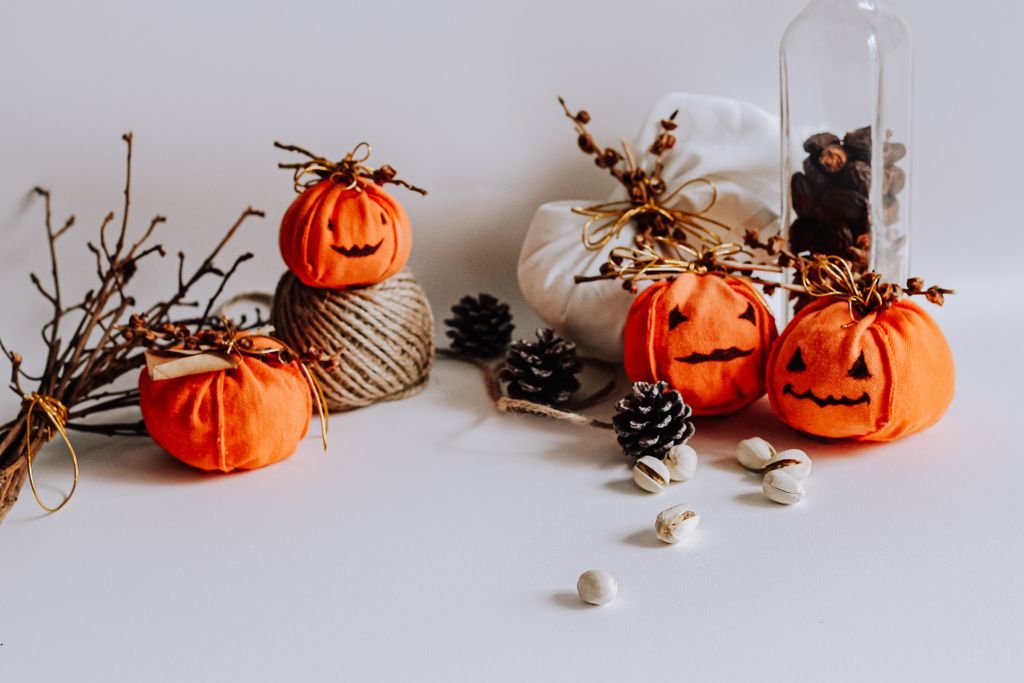
- Ghost Gourds: Paint the tops of long squashes white and add simple black oval ghost eyes.
- Sharpie Message Pumpkins: Use permanent black markers to write spooky greetings on real orange pumpkins.
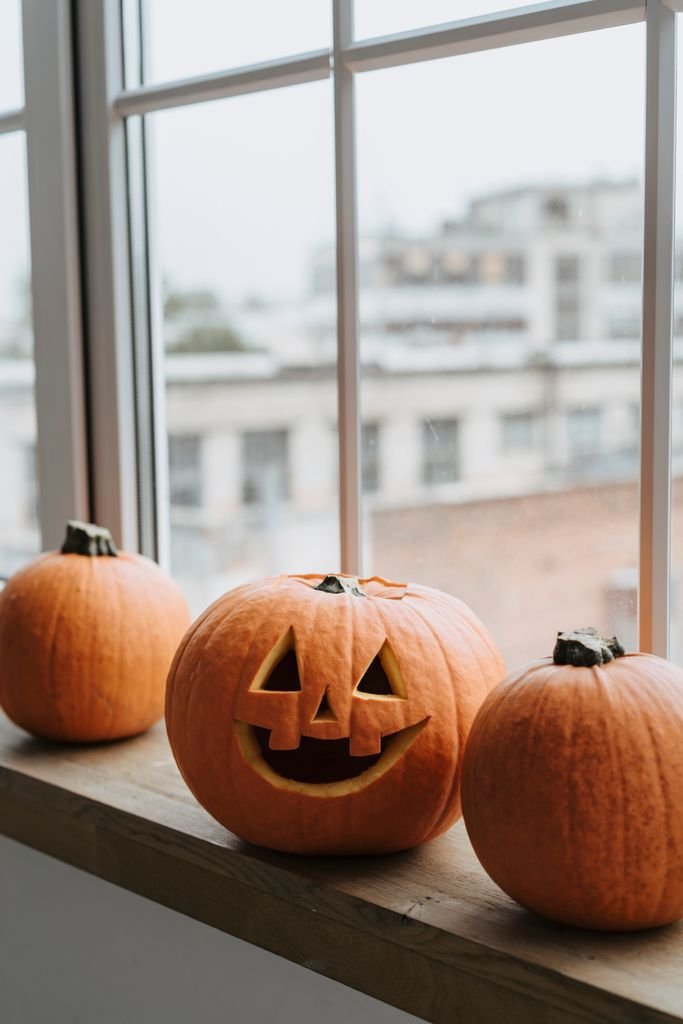
- Cookie-Cutter Jack-o’-Lanterns: Use metal cookie cutters and a mallet to easily punch clean stars or bat shapes into pumpkin walls.
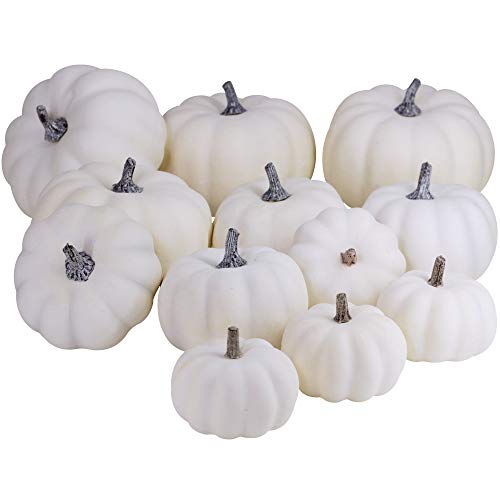
- Glow-in-the-Dark Minis: Paint miniature white pumpkins with neon glow paint to light up dark party corners.
- Chalkboard Pumpkins: Coat real pumpkins in matte black chalkboard paint so guests can write their own messages.
- Monogrammed Entry Pumpkins: Stencil your family’s last initial onto a large pumpkin to welcome guests at the front door.


🕷️ Spooky Table & Wall Accents
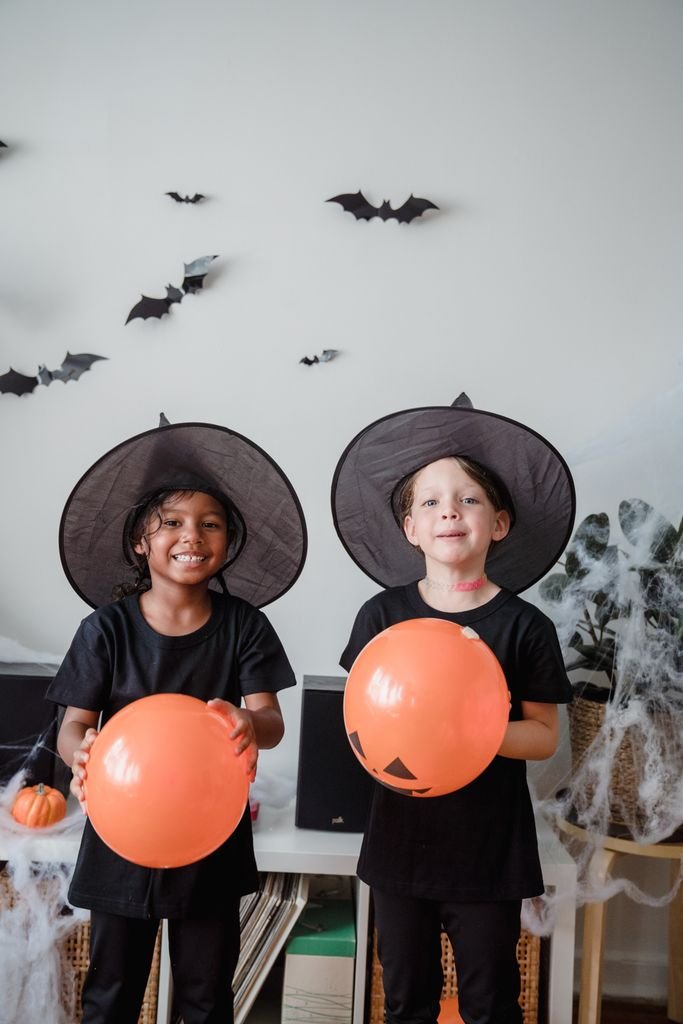
- Floating Paper Bats: Cut simple bat silhouettes out of black cardstock and tape them in a swirling pattern up your walls.
- Cheesecloth Table Runners: Dye cheap cheesecloth with black tea or grey paint, then rip the edges for a tattered, haunted look.
- Floating Witch Hats: Use clear fishing line to suspend cheap nylon black witch hats from the ceiling.
- Yarn Spiderwebs: Weave large decorative spiderwebs across blank walls or window frames using thick white yarn.
- Specimen Potion Bottles: Print vintage labels and paste them onto empty glass wine or amber medicine bottles.
- Ping-Pong Eyeball Jars: Draw red veins onto white ping-pong balls with a marker and fill a clear glass jar with them.
- Mason Jar Mummies: Wrap clean mason jars in white gauze bandages, stick on googly eyes, and place a tea light inside.


🕯️ Ambient Lighting & Party Glow
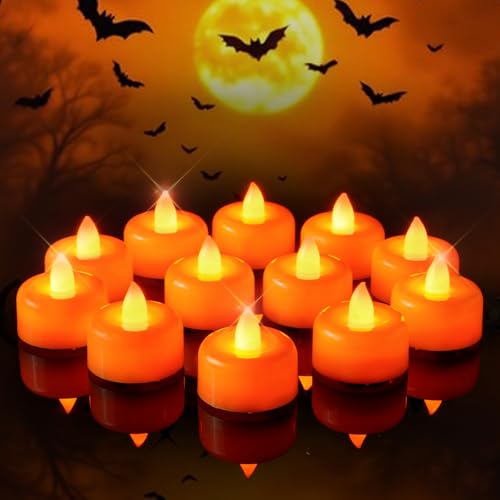
- Tea Light Grids: Line up a long row of budget-friendly tea lights in front of your food platters for dramatic lighting.
- Bleeding Pillar Candles: Drip red wax from a burning red candle over the tops of plain white pillar candles.
- Tin Can Lanterns: Punch spooky patterns (like bats or ghosts) into clean aluminum cans using a hammer and nail, then pop a candle inside.
- Glow Stick Cauldrons: Hide glowing green or purple glow sticks beneath dark green tulle inside a plastic cauldron to make it look like a bubbling potion.
- Cardboard Tube Candles: Paint paper towel rolls black, add hot glue drips to the rim, and insert a battery-operated LED tea light at the top.
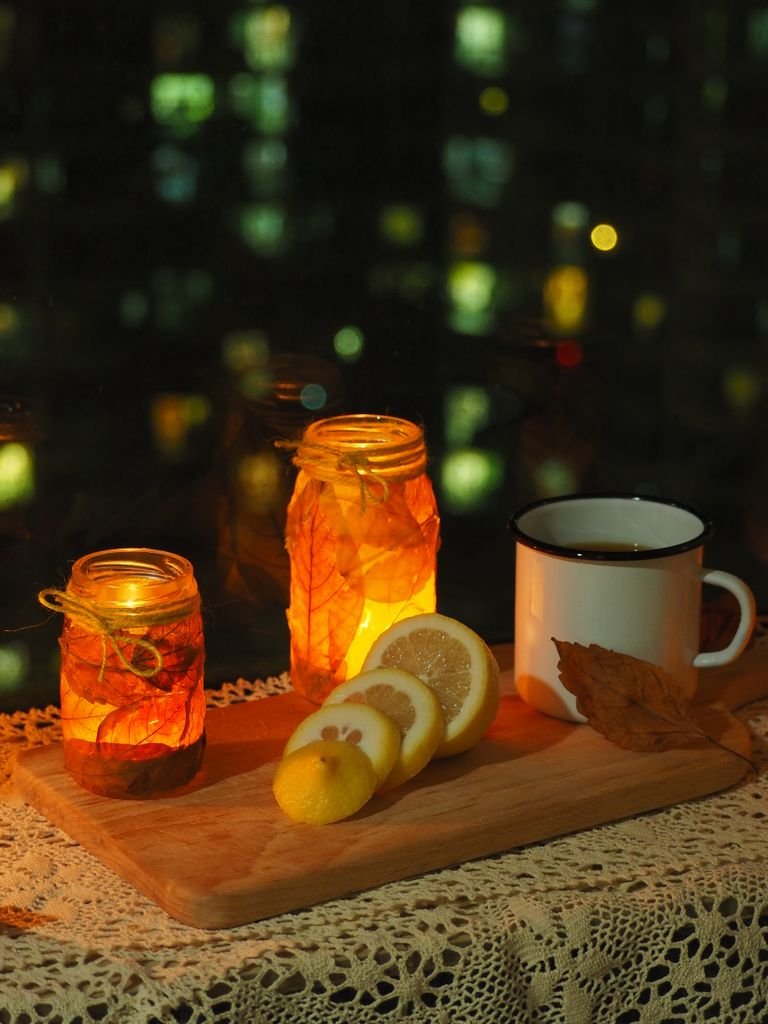
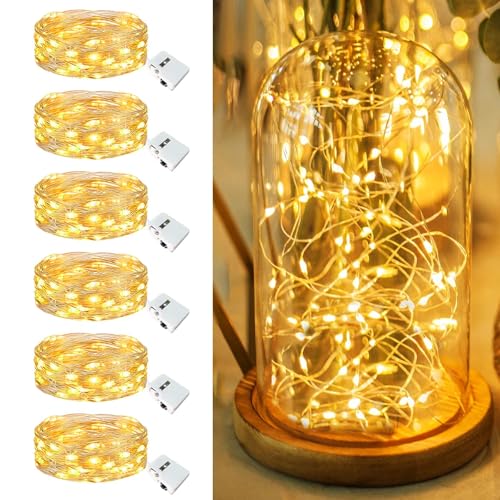
- Fairy Light Jars: Stuff strands of warm, copper-wired battery fairy lights into empty glass jars covered in black paper silhouettes.
![24 Pack Fairy Lights Battery Operated [3 Modes] 7ft 20](https://m.media-amazon.com/images/I/51NBqNkGaHL._SL500_.jpg)

🧺 Natural, Primitive & Rustic Accents
- Dried Wheat Bundles: Place tall stalks of natural dried wheat behind your pumpkins to add height and texture.
- Cinnamon Stick Clusters: Bundle long cinnamon sticks with jute twine to spread a warm, welcoming fragrance through the party room.
- Foraged Twig Wreaths: Bind dark, twisted backyard branches into a circle using floral wire and accent it with plastic spiders.
- Burlap Bunting Banners: Cut burlap fabric into small triangles, stencil black letters to spell “BOO” or “SPOOKY,” and string them on twine.
- Apple Crate Risers: Stack wooden fruit crates upside down on your buffet table to hold bowls of party snacks at different heights.
- Pinecone Spiders: Attach black pipe cleaners to the sides of large pinecones to create rustic, whimsical spiders.


🍽️ Festive Food, Drink & Utility Stations
- Cauldron Candy Dishes: Fill a large cast-iron pot or plastic cauldron high with wrapped vintage candies.
- Pumpkin Ice Bowls: Hollow out a massive pumpkin, fit a plastic or glass bowl inside, and fill it with ice to keep party drinks cool.
- Apple Cider Stations: Arrange copper mugs next to a rustic wooden board holding fresh apples and cinnamon sticks.
- Gauze-Wrapped Cutlery: Wrap forks and knives tightly in white linen napkins tied with rough black string to resemble mini mummies.
- Sharpie Drink Cups: Provide a black marker next to plain orange paper cups so guests can draw their own jack-o’-lantern faces.
- Donkey-Style Skeleton Game: Draw a large skeleton on poster board and play a party game of “Pin the Skull on the Skeleton.”
- Floating Ghost Balloons: Inflate white helium balloons, drape cheap white tissue paper over them, and draw on simple black eyes.
🛒 Shop the DIY Party Look on Amazon
To make gathering your party crafting supplies fast, efficient, and budget-friendly, here are the exact real-world items you can pick up right now:
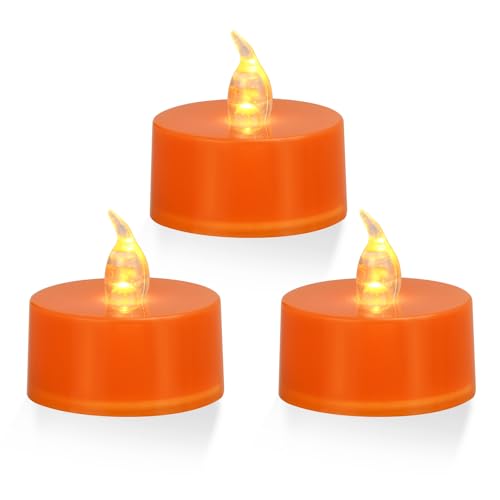
- The Lighting Base: Grab a bulk pack of these Long-Burning Unscented Tea Light Candles to easily create that stunning foreground glow grid.
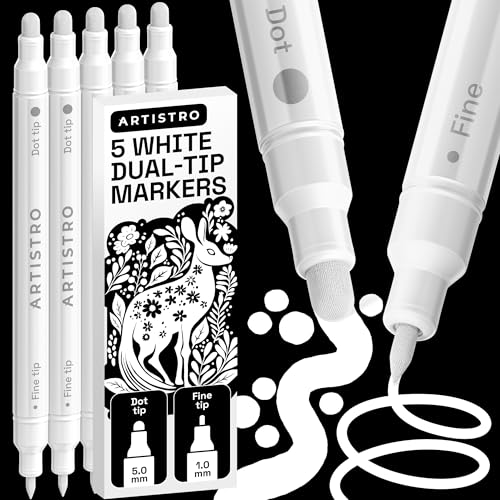
- The Crafting Finish: Snag this set of Waterproof Acrylic Paint Pens to easily draw your ghost faces and hand-letter your pumpkins without messy brushes.
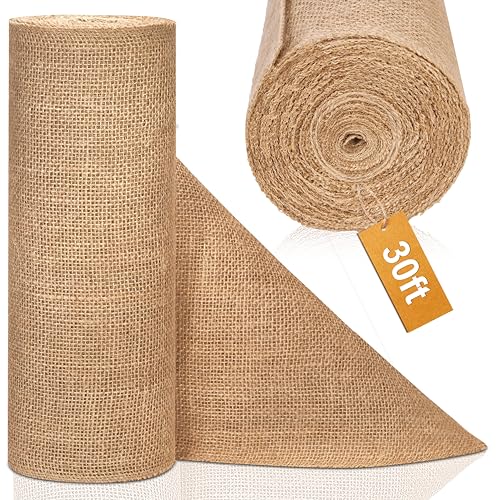
- The Table Foundation: Lay down this roll of Natural Frayed-Edge Burlap Fabric to perfectly mimic the warm, rustic background style from the photo.